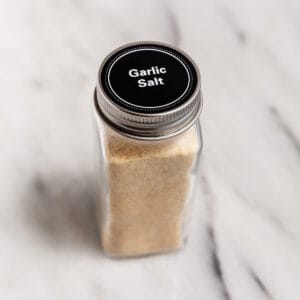
Instead of purchasing garlic salt, you can make it at home quickly and easily! You just need garlic powder or granules and salt. Here, I provide options for adjusting the ratio to reduce sodium and maximize the garlic flavor. Just about anything savory tastes better with this pantry staple!

Once I started using garlic salt, I had to have it on just about everything! It's wonderful any time of year, can be brought to any occasion, and you can make it to suit your tastes.
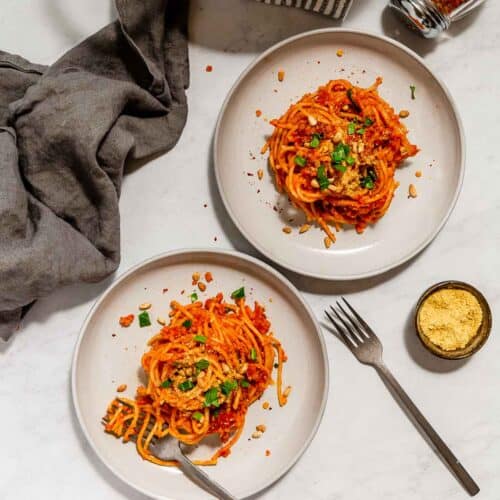
This garlic salt is particularly wonderful on avocado toast, popcorn, and my Oil-free French Fries (air fryer and oven instructions included).
Jump to:
The ratio
Buying ready-made is an option, though it's hard to know what the salt-to-garlic ratio is, and it is typically more expensive than making it yourself. Most recipes you'll find have a 3:1 or 4:1 ratio, with more salt than garlic. Pretty salty stuff!
Here, there is at most four parts garlic to two parts salt. Don't worry, the salt comes through, in a pleasant way rather than overbearing. By using more garlic than salt, it can be used more generously without inadvertently overdoing the salt.
If you need to go low sodium, I would suggest one tablespoon or less of salt to five tablespoons or more of garlic.
Ingredients and Tools
Here are the ingredients needed to make this recipe. As you can see, very little is required! Below, I'll let you know the type of garlic and salt I use to make this pantry staple.
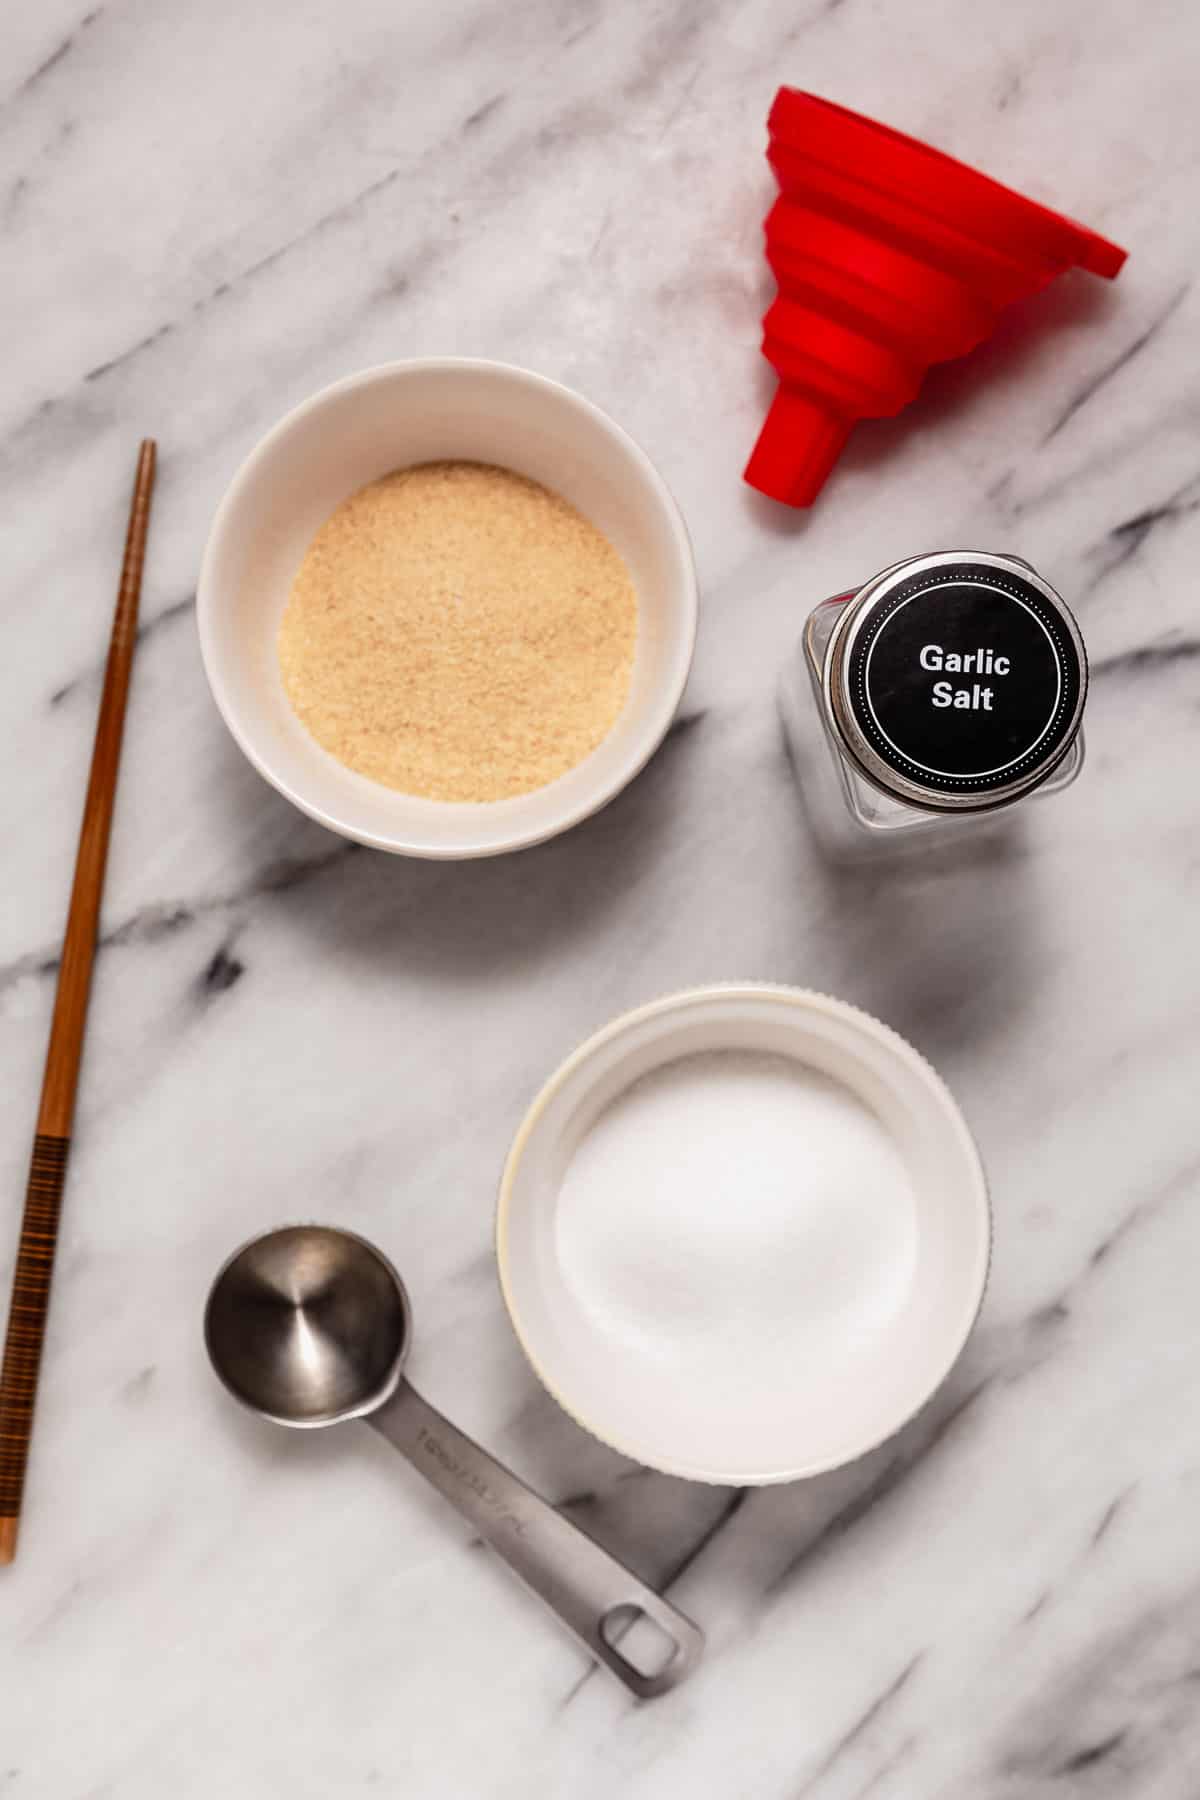
Garlic: Use garlic in the form of garlic granules or garlic powder. Some spice sources interchange these terms. I prefer getting the kind that is more course/not as fine. Bulk quantities can be found at Thrive Market, Mountain Rose Herbs, and other online stores.
Salt: Because we need iodine in our diet regularly, we are using a standard iodized table salt for this recipe. Pink and other types of salt don't typically contain iodine.
Corn starch or arrowroot powder (optional): If you're concerned about clumping, you can add a bit of corn starch or arrowroot powder to help prevent that.
Equipment
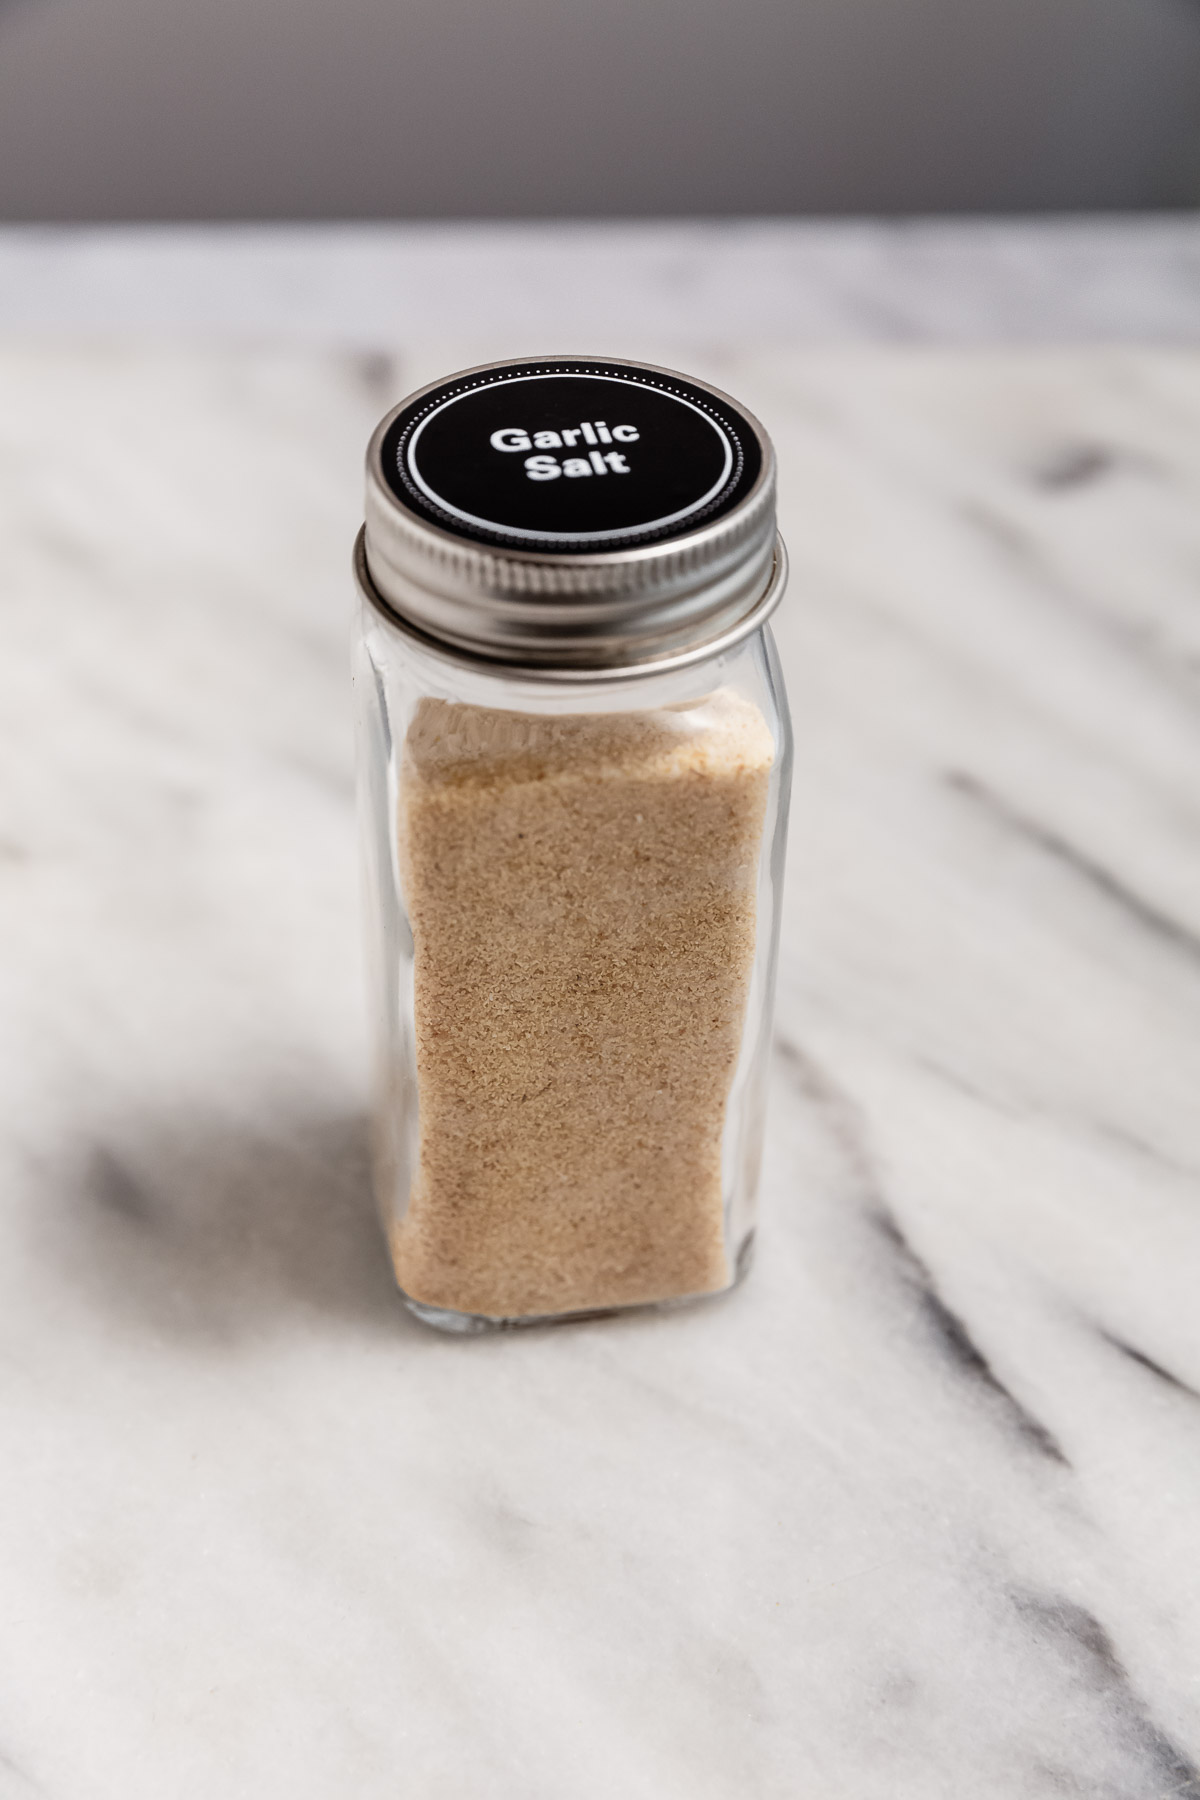
A 4-ounce jar with a lid and preferably an inner shaker lid and a label. Labels can be found at craft and kitchen shops.
A small funnel helps pour the garlic and salt into the jar.
Two ramekins to help spoon the ingredients into the jar.
A tablespoon to scoop appropriate amounts of ingredients into the jar.
A chopstick/hashi for stirring the ingredients together.
Spice Jar tips
Reusing an old garlic salt jar is a great way to have your homemade garlic salt market while reducing waste. No need to purchase a jar and labels that way.
If you do need a jar and labels, you can find them easily online through places like Etsy or kitchen shops. I like to use this bristle-free barbecue brush (affiliate link) for cleaning the grill.
Instructions
Here are the simple steps involved in making this recipe. The ratio is four parts garlic granules, two parts salt. The recipe card and the Variations section below describe how to alter your ratio to reduce salt and increase garlicky goodness!

Place the funnel over your jar and add a tablespoon of garlic granules.

Then, pour in a tablespoon of salt. Alternate again, then fill with the remaining garlic granules.
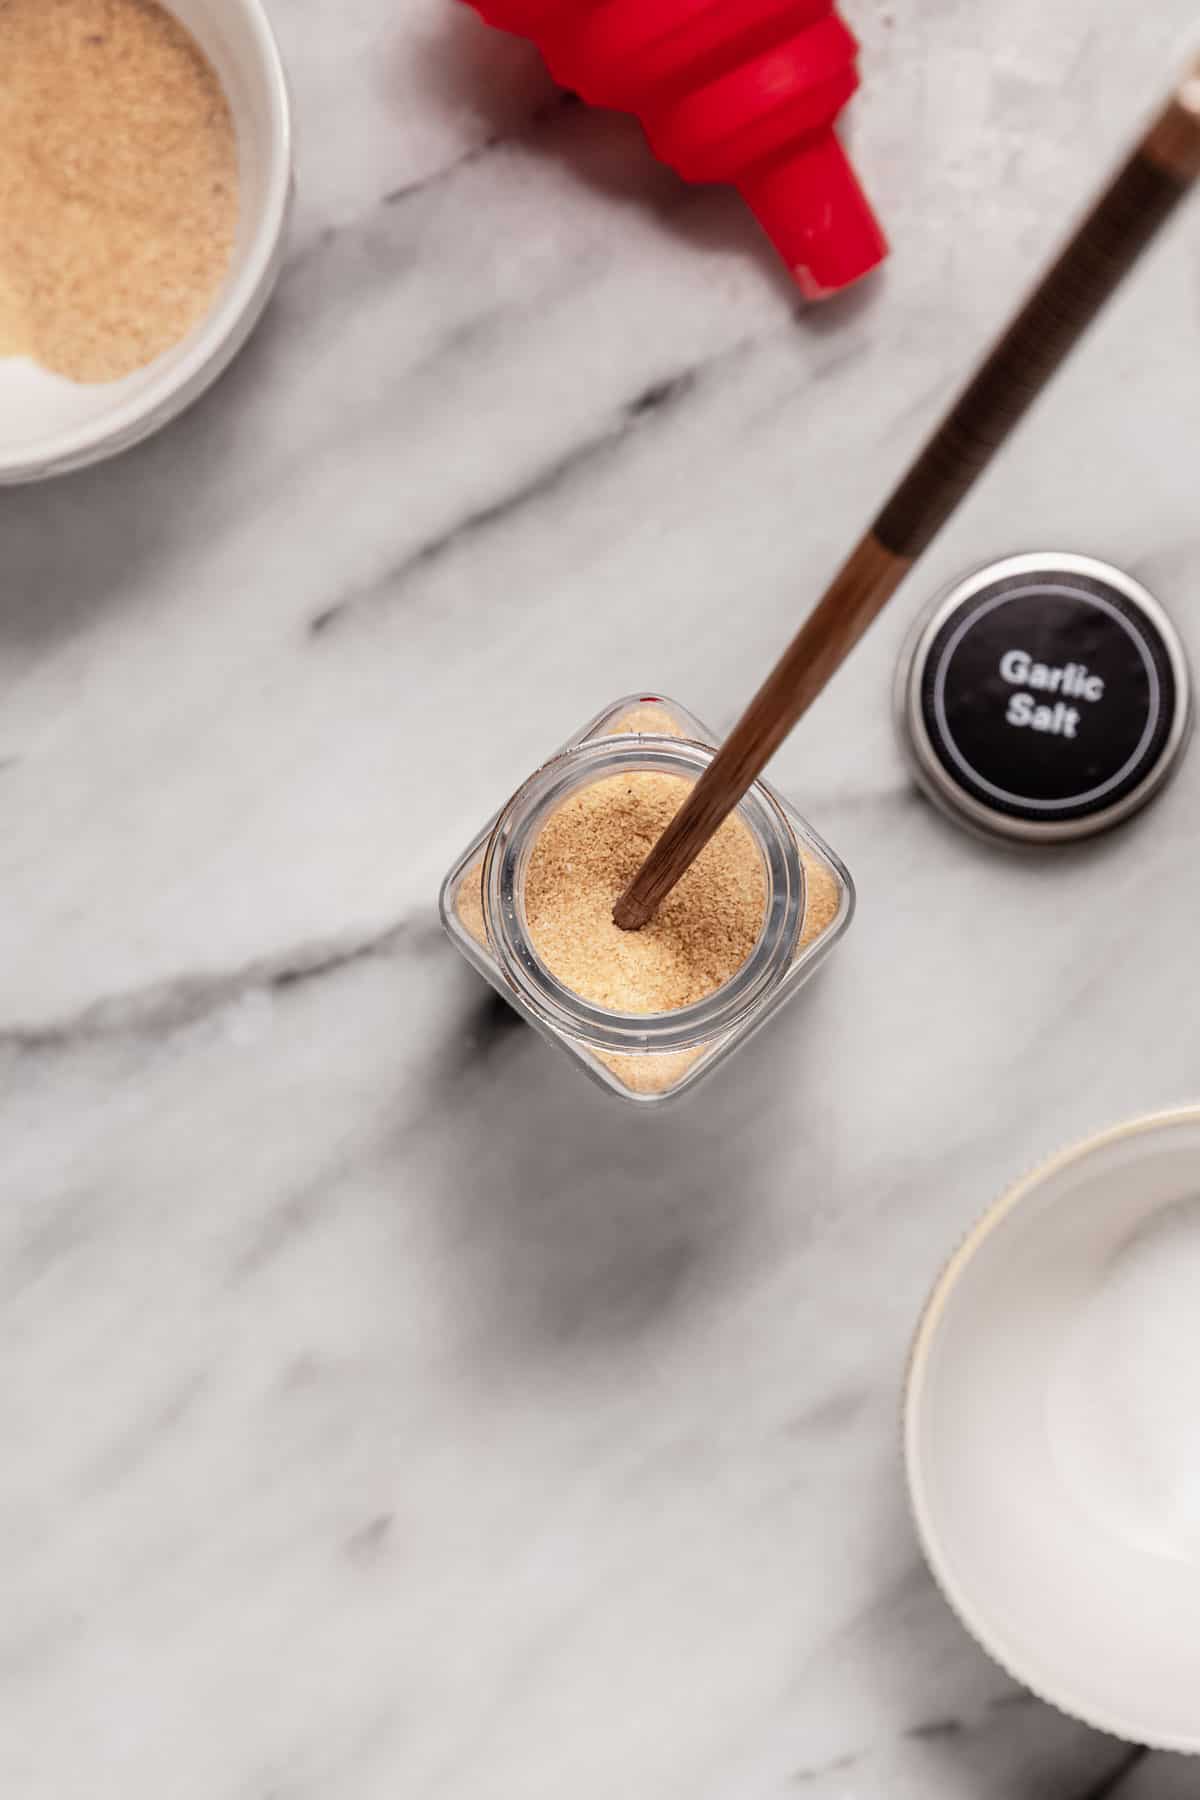
Stir the ingredients together thoroughly with a chopstick (aka hashi).
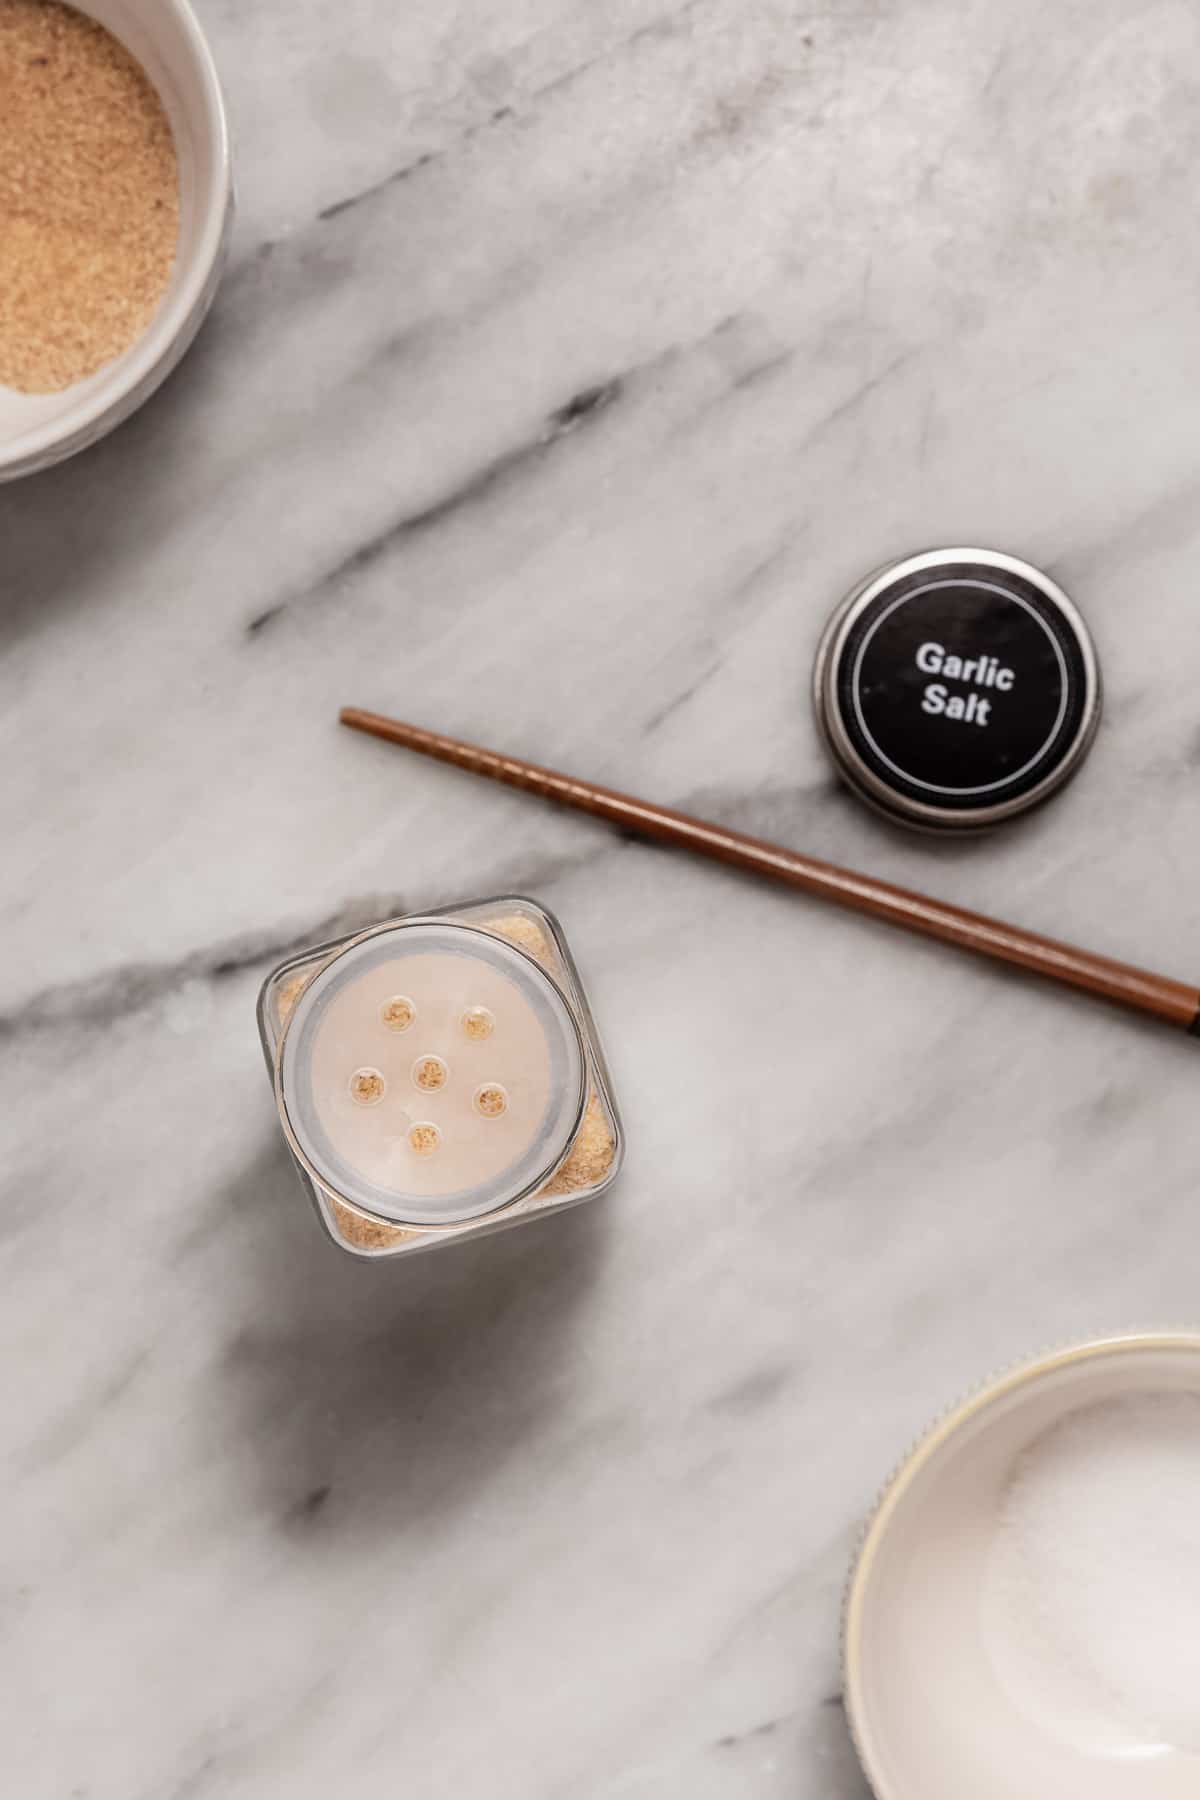
Then, snap the sprinkle lid onto the top and add the label and top lid.
Sprinkle with care
Be careful of usage, especially depending on the ratio you choose. While this recipe contains less salt than most, the salt can still be too much if you sprinkle it on copiously. If you only have a minimal amount of salt in your ratio, say a tablespoon of salt per jar, though, you can sprinkle more generously without going overboard.
Variations to reduce salt
The saltier version of the recipe already has less salt than many recipes out there. Still, the salt can be reduced even further by shifting the ratio further in favor of garlic.
Whatever your choice, the ingredients should total six tablespoons to fill a 4-ounce jar.
You can go as low as you want on the salt; just be careful of going any higher than 2 tablespoons in a 4-ounce jar.
If you're really watching your salt intake, try reducing the salt as far as you can. An example is to have just one tablespoon salt (or less) and five tablespoons of garlic granules - or even less. Or skip the salt!
Be sure to shake your homemade garlic salt well before using to make sure it's all distributed well.
Are you ending up with no salt to satisfy your needs? That's just called "garlic granules" but if it helps, go ahead and store it in the jar marked "garlic salt" so you feel like you're having it! Garlic granules on their own add so much flavor to a dish, too.
Storage
Store in an air-tight spice jar or similar-sized container and keep it in a cool, dry place.
Hot tip
Avoid sprinkling over anything that is steaming quite a bit, like something cooking on the stove. The steam will add moisture to the inside of the jar, causing the ingredients to stick together.
Instead, sprinkle into your palm or scoop with a measuring spoon.
FAQ
It only takes about five minutes to make, since it's just a matter of stirring together salt and garlic granules. So easy to make!
It's hard to know how much salt is in the store-bought versions, I imagine they vary quite a bit. Adjust the ratio of garlic to salt to suit your needs. If you need a low-sodium version, try adding five parts garlic granules to one part salt and mix well, for example. You can reduce it even further, if you wish.
More toppings
Looking for other recipes like this? Try these:


Pairings
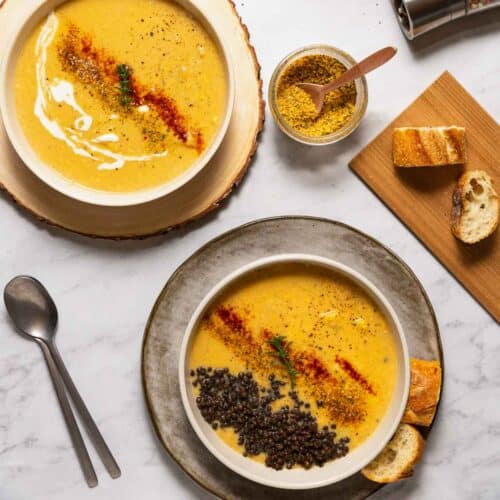
These are my favorite dishes to serve with garlic salt:


The Recipe
Homemade Garlic Salt Recipe
Equipment
- 1 small funnel
- 1 4 ounce spice jar with lid and pour spout insert, if desired or similar
- 1 Garlic Salt label if needed
- 1 chopstick or butter knife
Ingredients
- 4 tablespoons garlic granules or powder; up to 6 tablespoons total if reducing salt further
- 2 tablespoons table salt or less, with iodine
- ¼ teaspoon corn starch or arrowroot powder; optional
Instructions
- Use a combination of garlic granules and salt to equal six tablespoons. Choose the ratio of salt to garlic you'd prefer. A little salty: 2:4 (less salt, more garlic). Very low sodium: 1:5 (less salt, more garlic) or even less than a tablespoon of salt and enough garlic to make 6 tablespoons of ingredients.
- Place a small funnel on top of the jar and pour one tablespoon salt through the funnel (if using salt).
- Add a tablespoon of garlic granules. Repeat, alternating salt and garlic based on the ratio you chose. You will run out of salt before garlic. It's ok if the distribution is uneven.
- Add the corn starch/arrowroot, if using.
- Stir the ingredients together thoroughly with a chopstick or butter knife.
- Store the garlic salt in the jar with a pour-top insert, if using, and a lid. Use a label, if desired, to label the garlic salt jar. Store in a cool dry place.Shake well before using.
Notes
Rough Nutrition Estimate provided by WPRM (based on generic ingredients and limited specification options)
general food safety
- Cook to a minimum temperature of 165 °F (74 °C)
- Do not use the same utensils on cooked food that previously touched raw meat
- Wash hands and ingredients well before using
- Don't leave food sitting out at room temperature for extended periods
- Never leave cooking food unattended
- Use oils with high smoking point to avoid harmful compounds
- Always have good ventilation when using a gas stove


Comments
No Comments