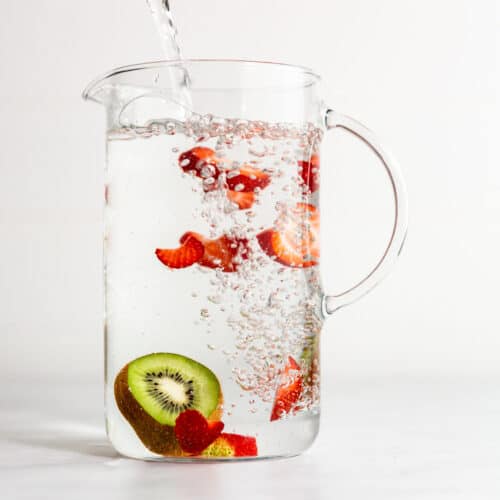
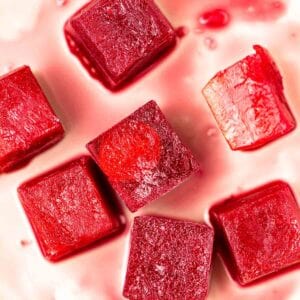
Blood orange flavored ice cubes add a refreshing, energizing boost to your drinks. All you need are two ingredients: oranges and blood oranges. Reduce waste by making these ice cubes when you have an abundance of oranges to use up. They're easy to make and can keep in your freezer for months, adding color and flavor to your drinks well past citrus season.

This recipe came about when it became clear we weren't going to be able to eat all of our beautiful blood oranges and oranges before they went bad. We'd gotten them at a good price, but were now running out of time to use them. Getting fruit at a good price isn't really a good price if you don't eat them all, right? So I needed to figure out how to get the most out of them.
What we appreciate about these ice cubes
Prolonging the enjoyment of blood oranges beyond their season
Adding a controllable amount of flavor to water, sparkling water, mocktails, or cocktails
Little time investment required to squeeze the oranges and fill the ice tray
Adding something special to a drink can happen at any moment, since they last a long time in the freezer, especially if the tray is sealed
A lovely color is added to drinks
Saving money by using less expensive oranges for part of the juice in place of blood oranges, since blood oranges are colorful and flavorful enough to still shine
Avoiding tossing out oranges we might not eat in time also saves us money, by "saving them" as ice cubes.
These beautiful ice cubes would be delicious in one of my flavored waters or cocktails/mocktails.
Jump to:
Ingredients
You only need oranges and blood oranges for this recipe.
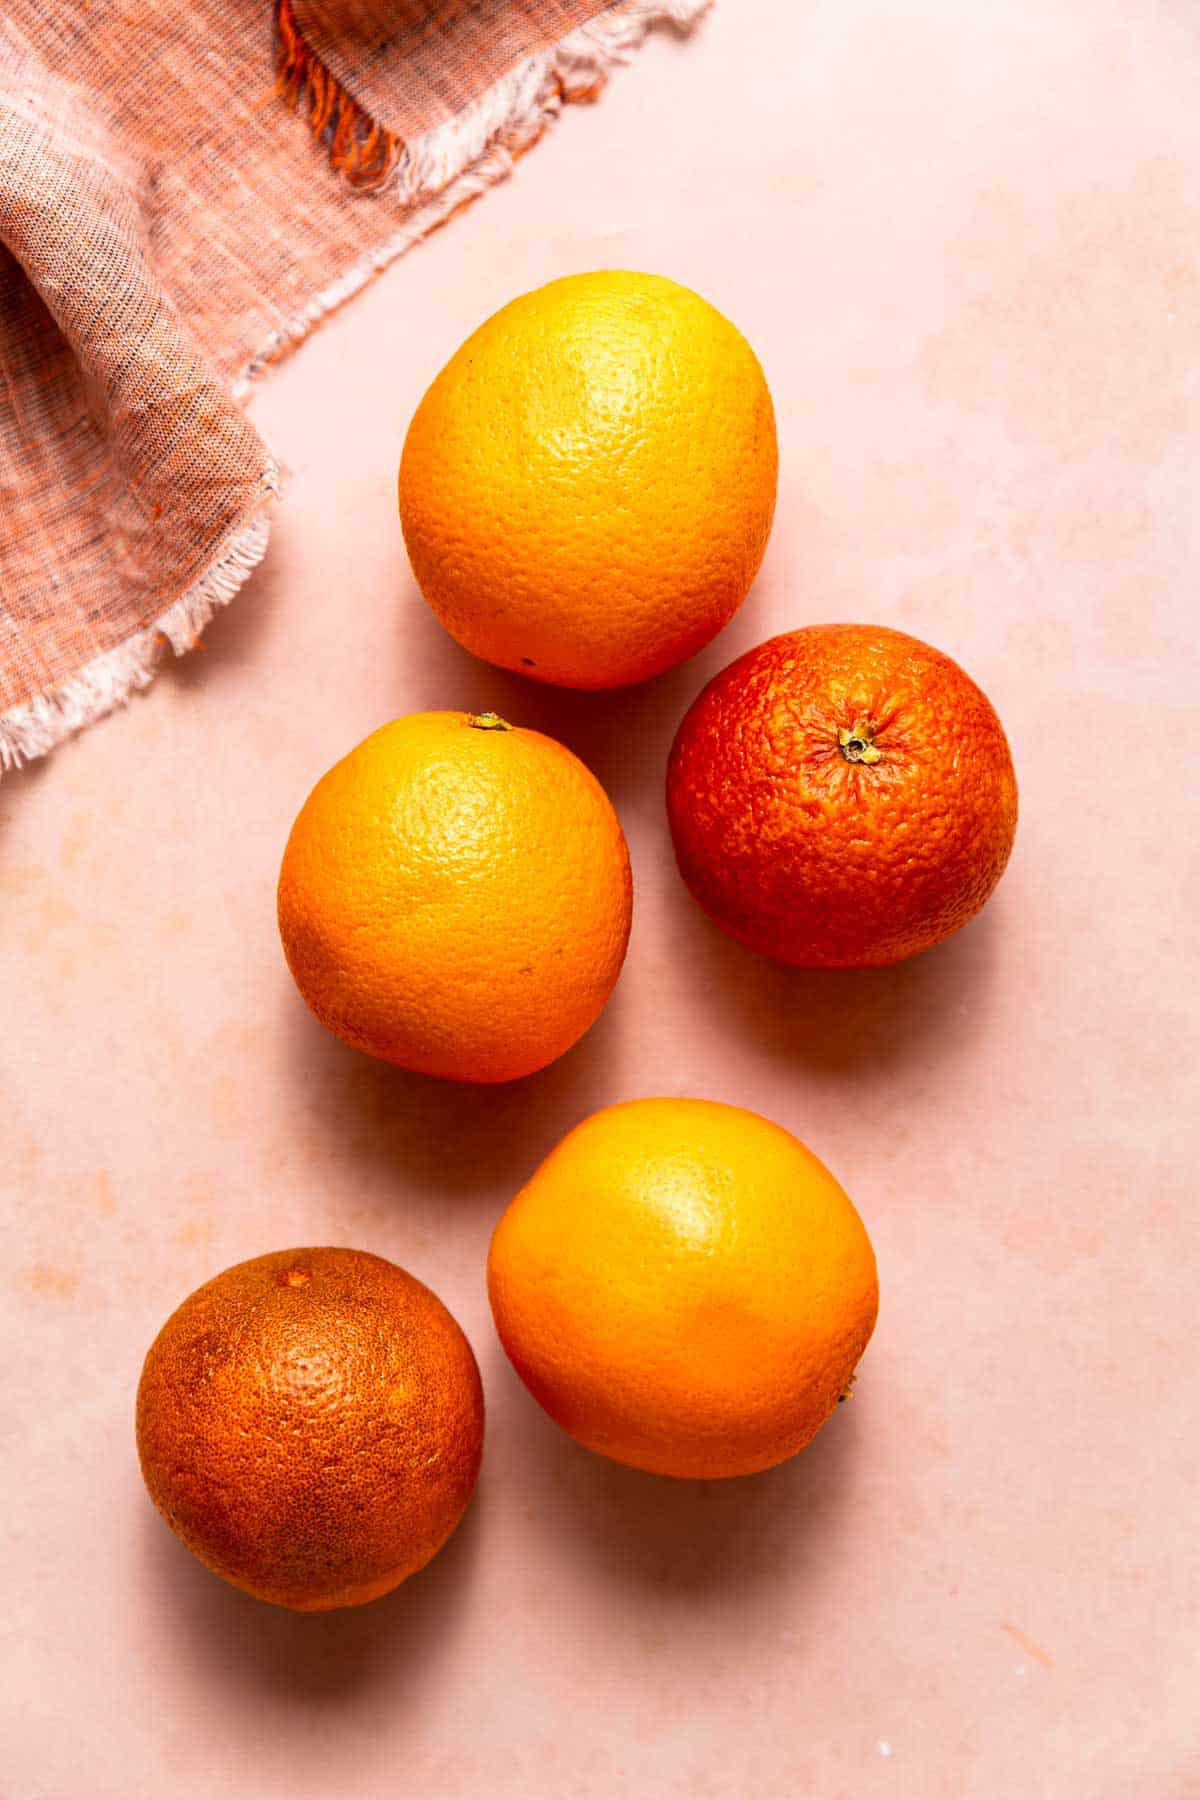
Blood oranges: Because blood oranges tend to be more expensive, we are only using a couple and using less expensive oranges to fill the rest.
If you'd prefer to use only blood oranges, of course that works, too. The color and flavor will be stronger.
Oranges: Use a good juicing orange to combine with the blood oranges, or simply the least expensive orange available.
See recipe card for quantities.
Additions (optional)
To make these ice cubes even more wonderful, it's fun to add small bits of orange peel or fruit, such as sliced kumquats, to the juice in your ice tray. Kumquats are often available around the same time blood oranges are.
Fresh herbs, such as mint, are another nice addition.
Equipment
Here's what you will need to make these flavored ice cubes:
Cutting board and knife for slicing the citrus
Juicer of some sort (I just use a little hand juicer, as pictured)
Liquid measuring cup to collect and measure the juice (optional but helpful
Spoon and prep bowl to clear the pulp from your juicer (optional but helpful, depending on your juicing method)
Ice cube tray (the kind with a lid, preferably, for long-lasting freezer storage)
Instructions
This recipe is very basic, yet the results are fantastic!

Slice the oranges and blood oranges, then juice them with whichever juicer you have.
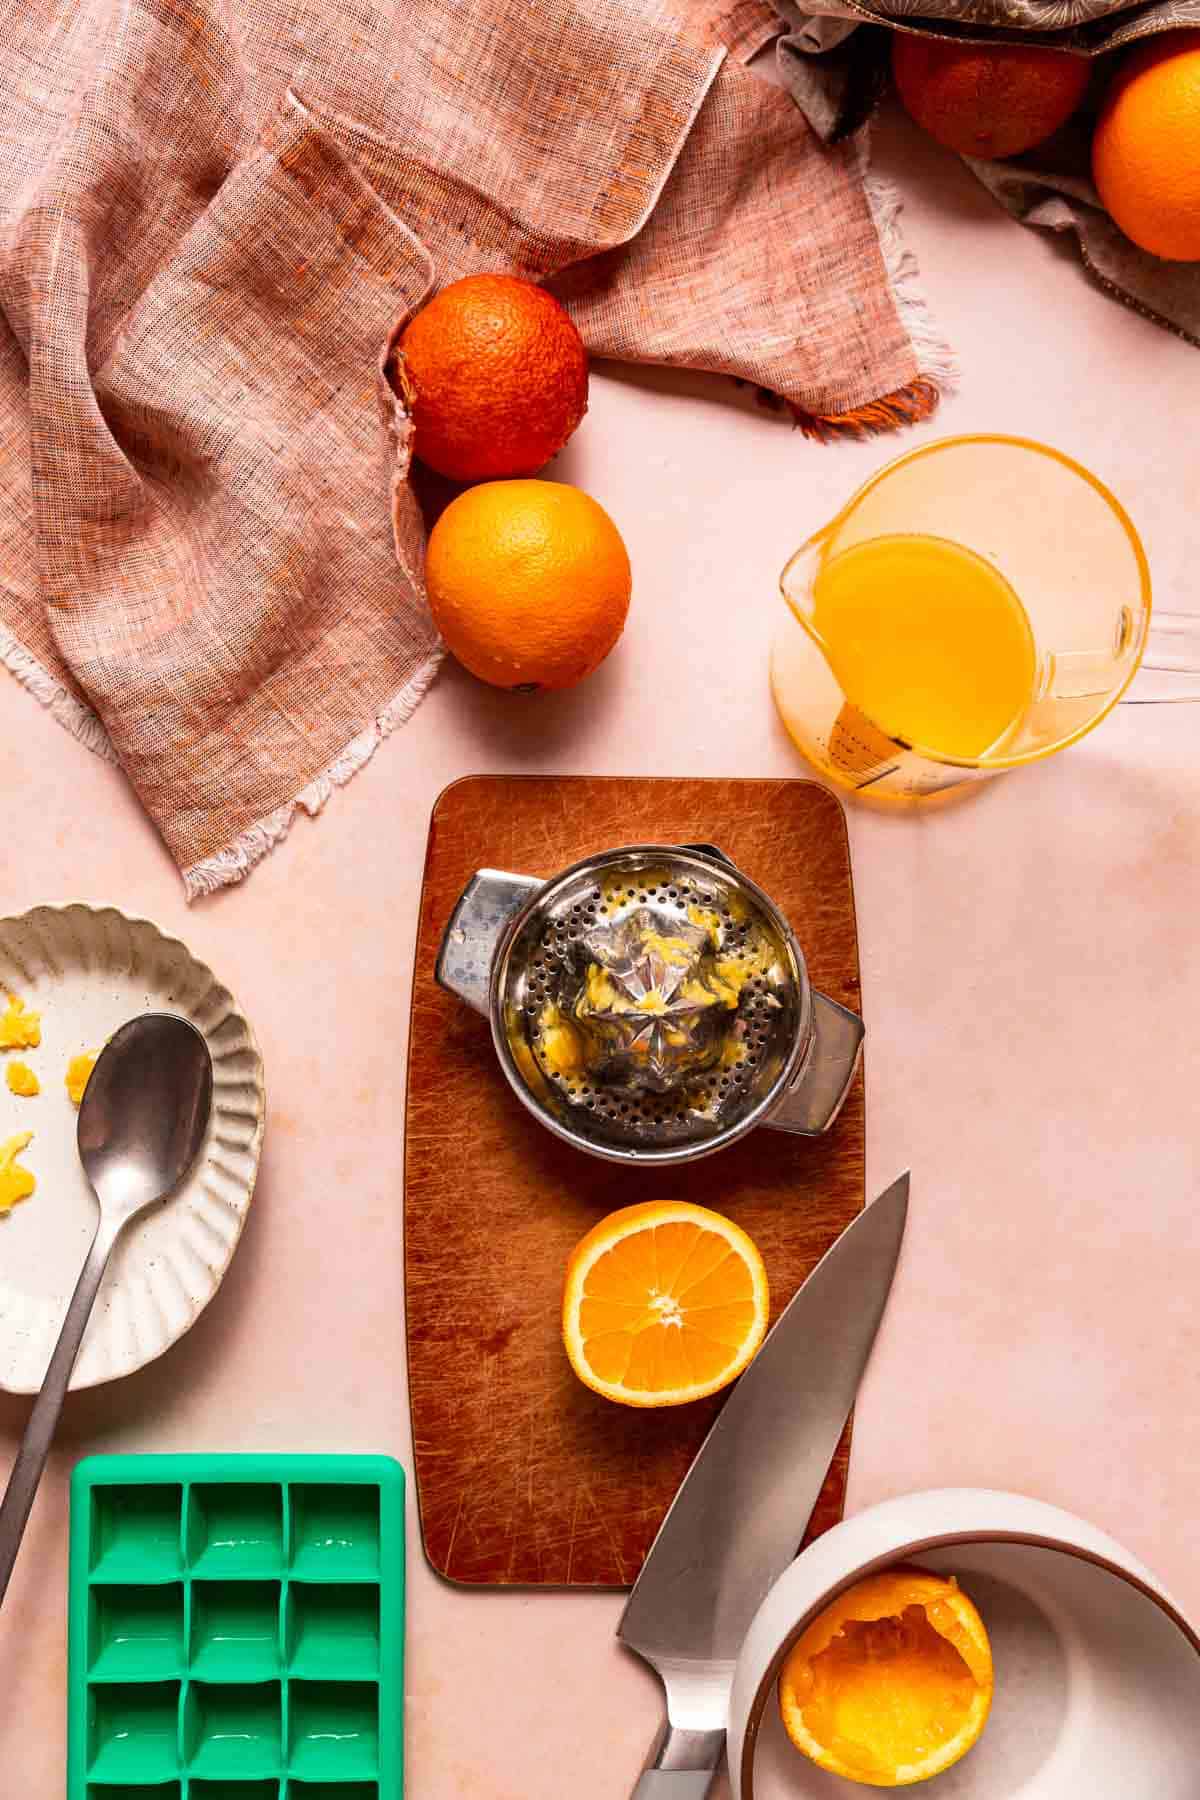
Then, pour the juice into the ice tray and place the tray in the freezer.
Juicing Tip
A liquid measuring cup can help you collect the juice as you juice the oranges, rather than pouring the juice directly into the ice tray from your juicer. That way, the colors of the oranges and blood oranges combine to make a pretty pink-red-orange color - plus there's less mess.
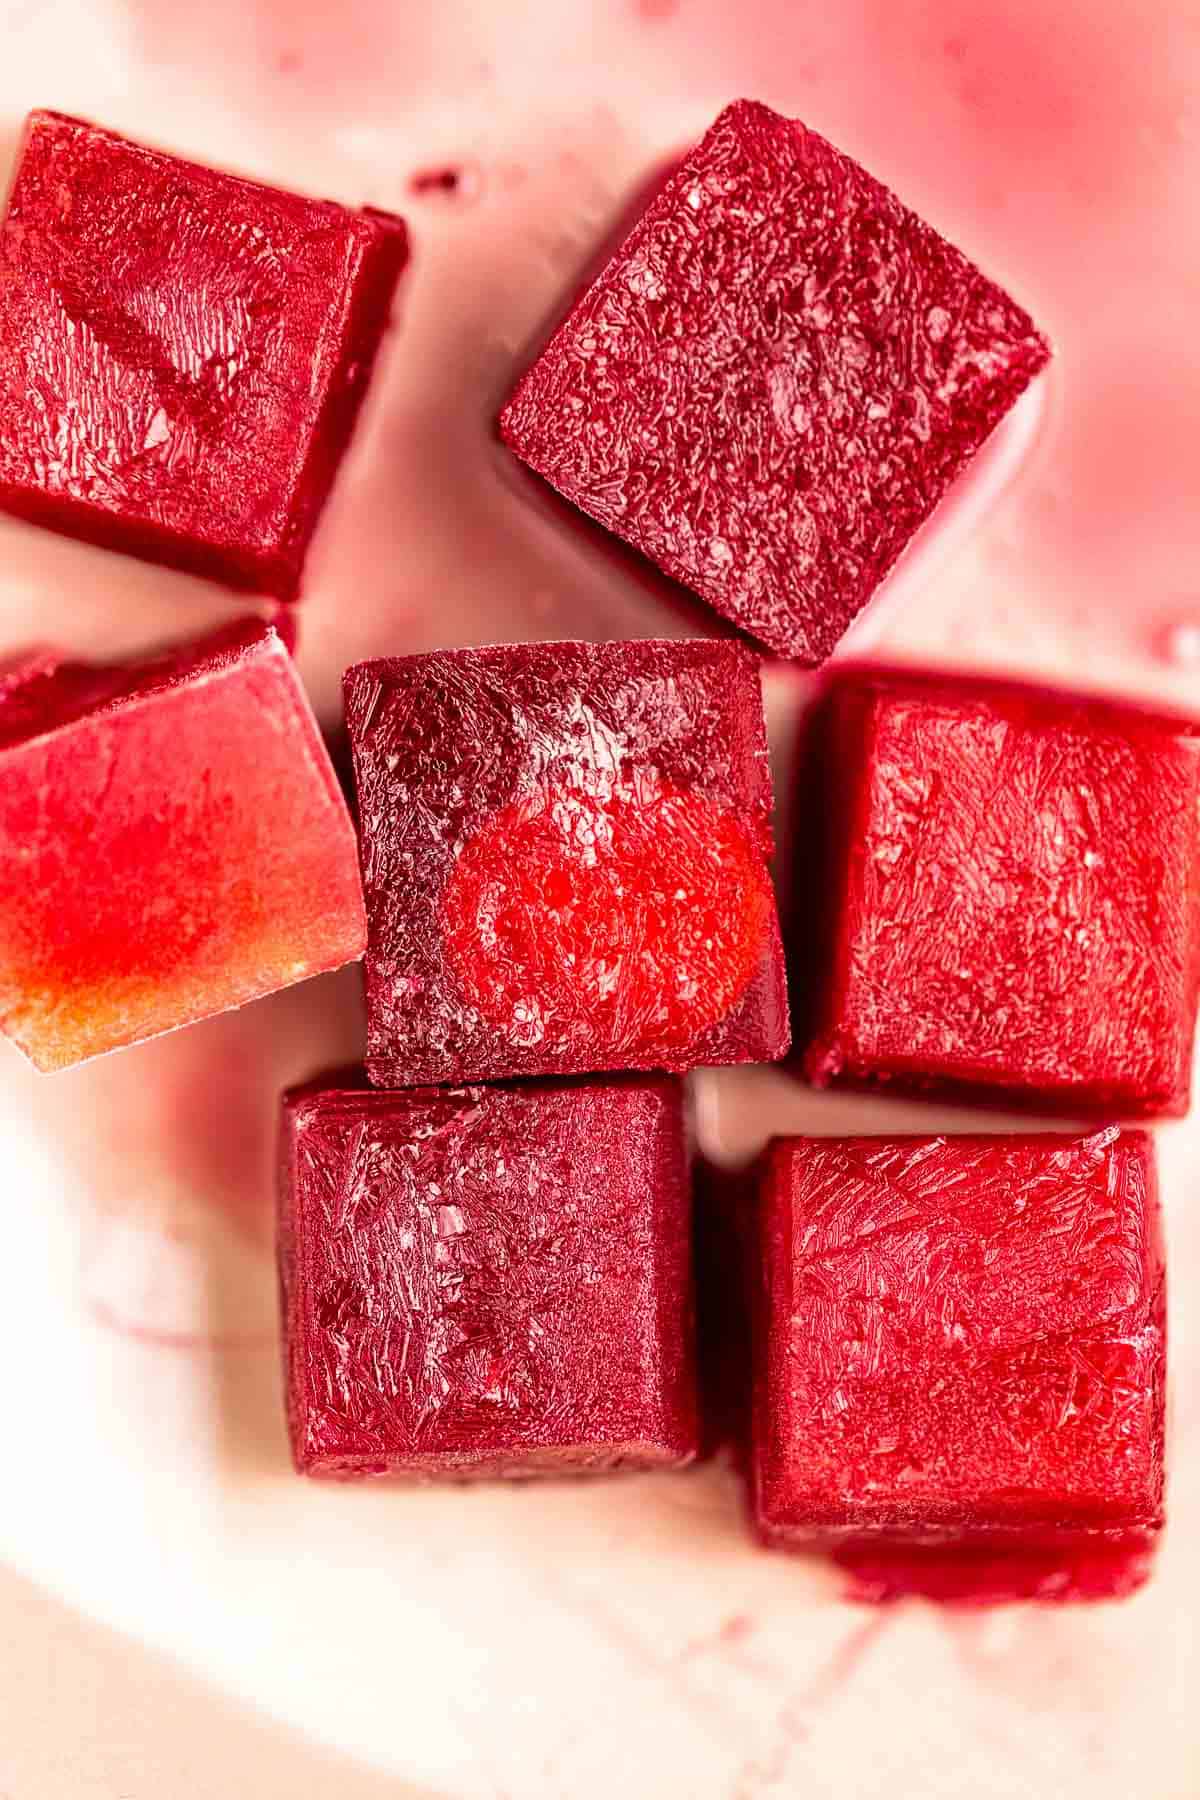
Storage
The ice cubes are best used within a month or two; however, they can last in your freezer for months, especially if sealed.
Storage Tip
An ice tray with a cover to seal will help keep these flavored ice cubes from absorbing other flavors from the freezer. They'll also have less of a chance to evaporate or become contaminated.
Also, be sure to use clean, filtered water to make the ice, if possible.

FAQ
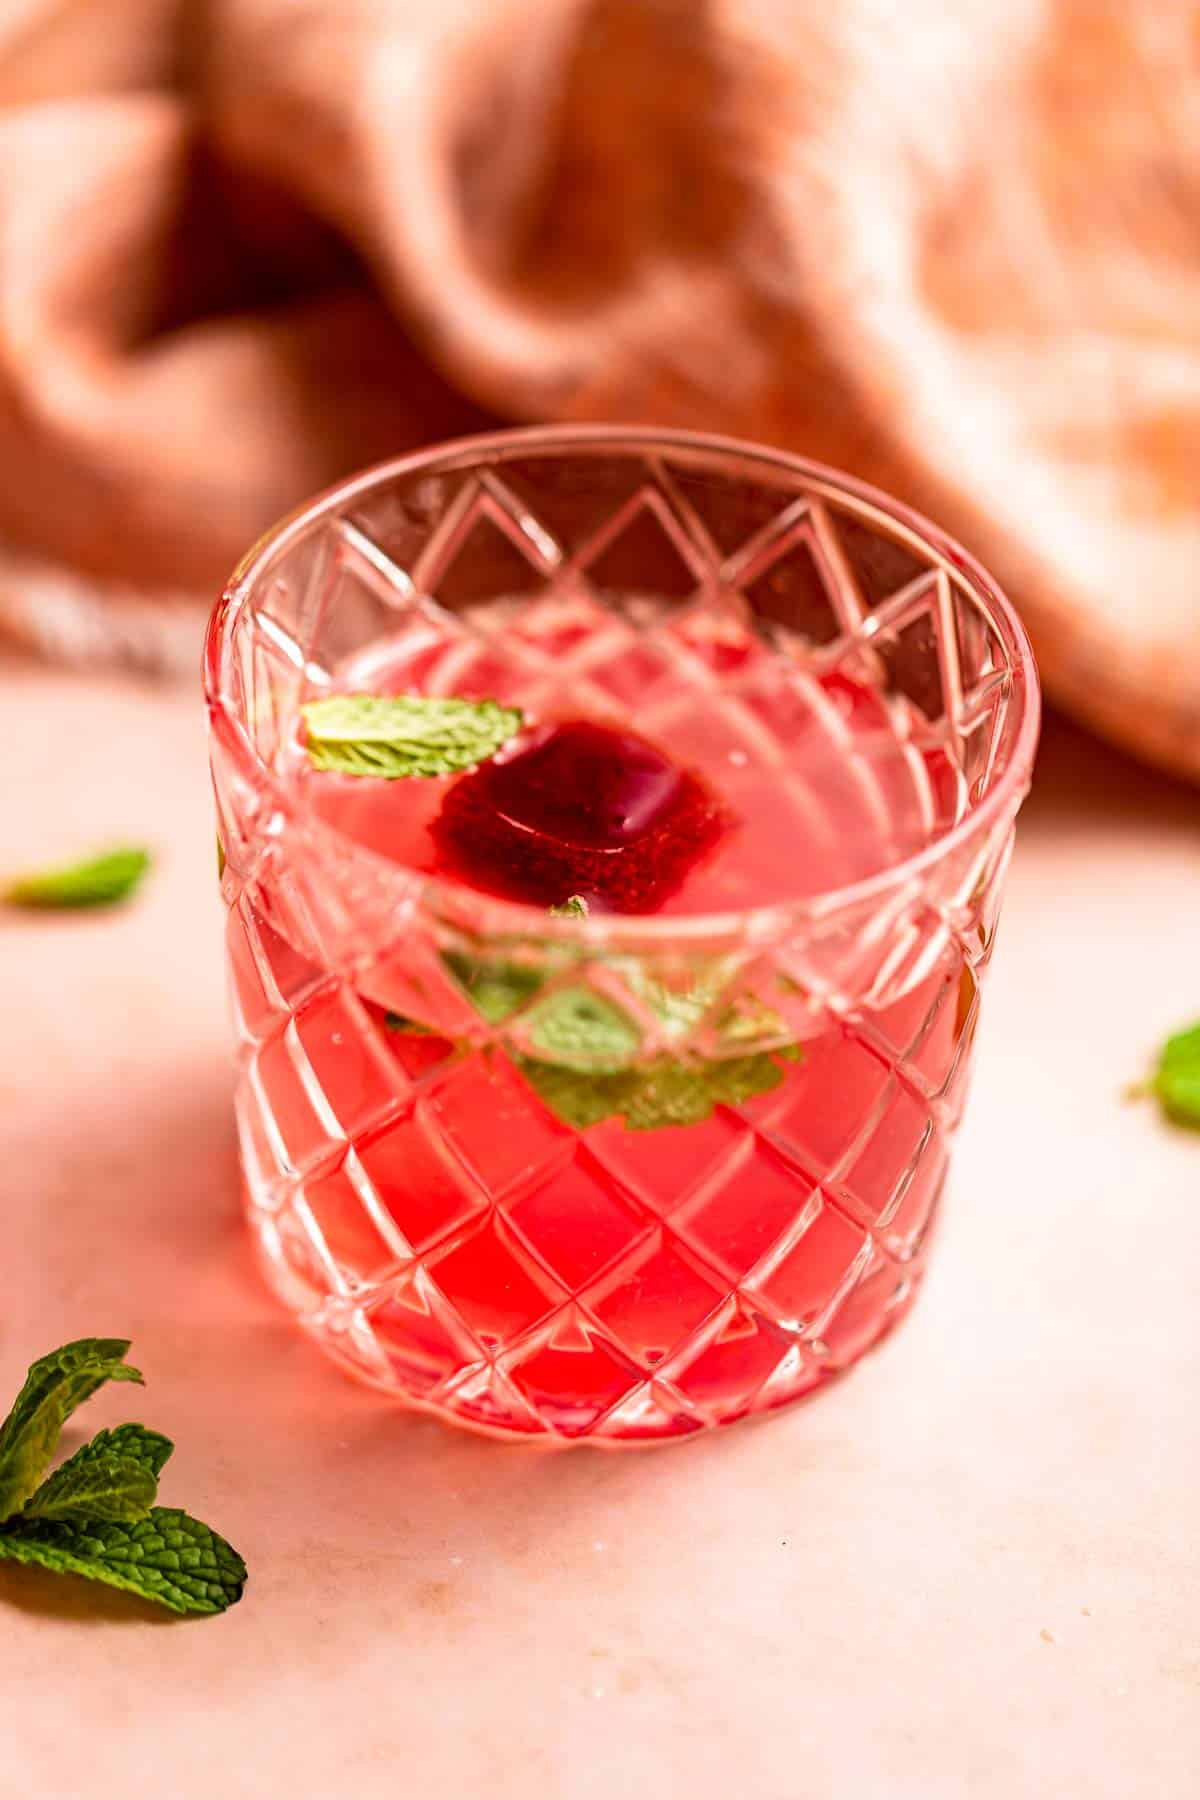
Nothing but water. The image immediately above shows a closeup of a cube in sparkling water. One ice cube will turn a glass of plain water to a beautiful shade of pink-red-orange. The color can vary, since each fruit varies in color - and depending on your orange/blood orange ratio.
Absolutely! The recipe uses one cup of juice, so ice cubes are sized well for that amount. 3-6 oranges, depending on size and quantity of juice each, are typically used to make one cup of juice. You may be able to make a couple popsicles with that amount, depending on your popsicle molds.
Water flavors
Try pairing these ice cubes with a flavored water:


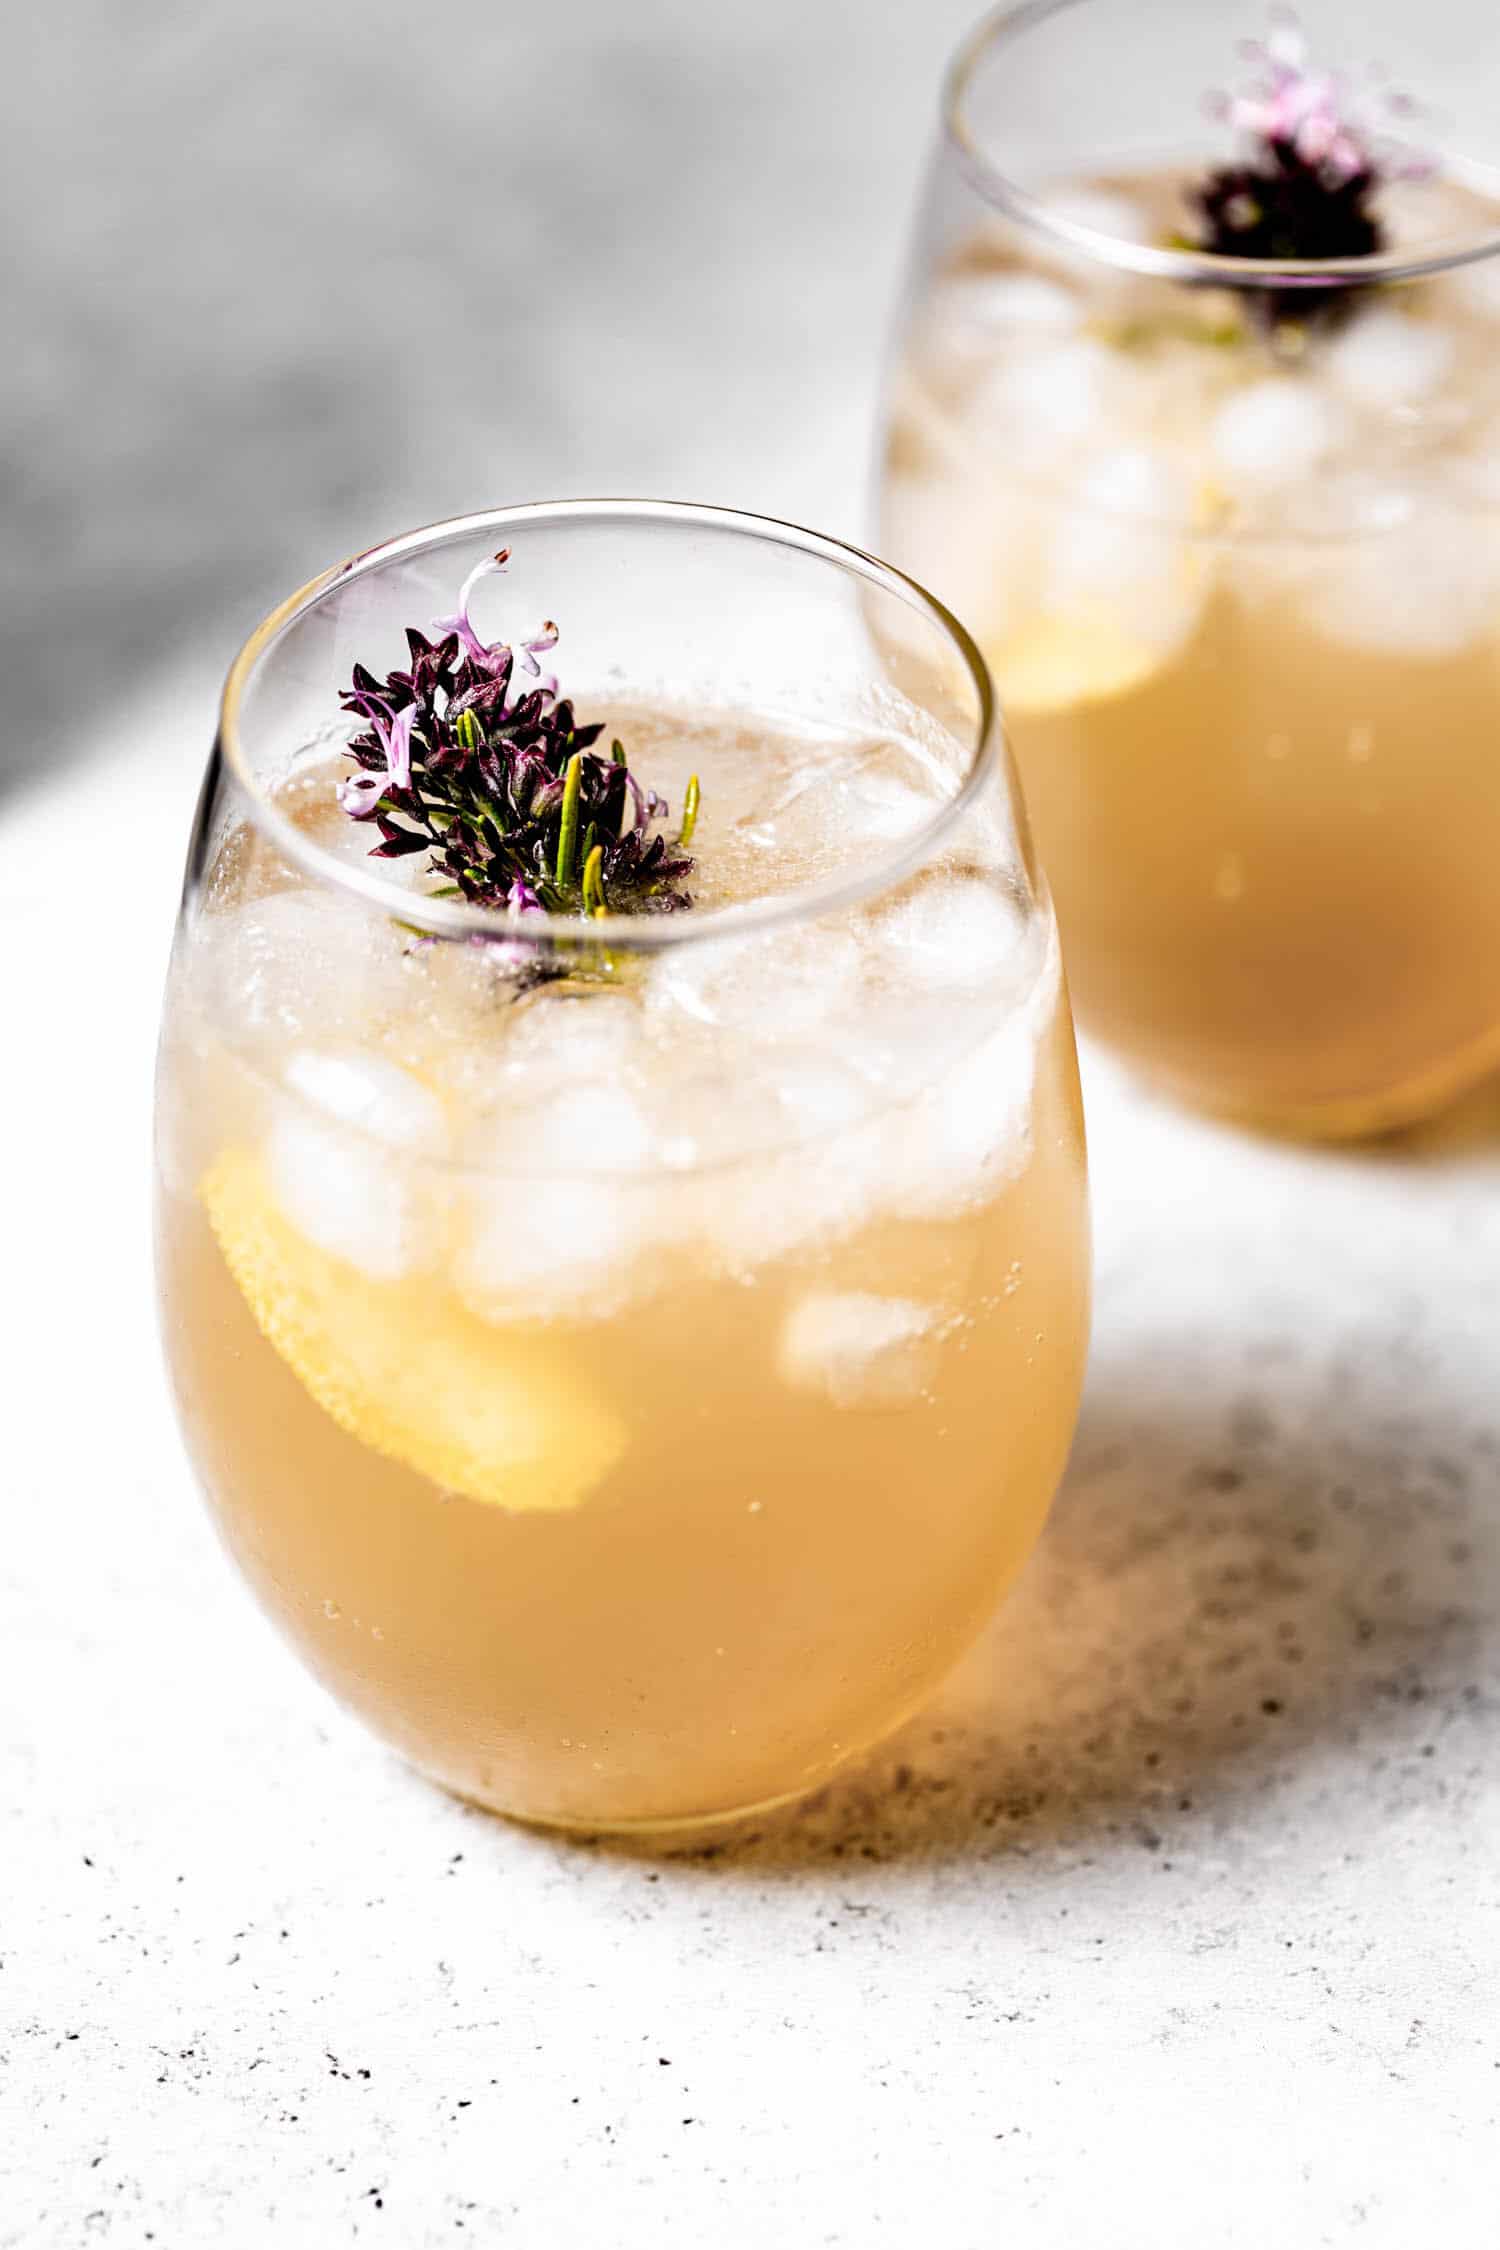
Mocktails and cocktails to pair with
Enhance these drinks even more by adding blood orange ice cubes!:


The Recipe
Blood Orange Flavored Ice Cubes
Equipment
- 1 cutting board and knife for slicing the oranges
- 1 juicer (manual, electric, cold press - whatever you have)
- 1 liquid measuring cup to collect and measure the juice
- 1 spoon and prep bowl to collect pulp from juicer, if necessary
- 1 ice cube tray (standard size, any shape, preferably with a lid)
Ingredients
- 2 blood oranges the blood orange/orange ratio is up to you
- 3 oranges or more to make one cup total juice.
Additions (optional)
- orange peel or fruit such as sliced kumquats
- fresh herb leaves such as mint, basil
Instructions
- Slice the oranges and blood oranges, then juice them with whichever juicer you have.Tip: Using a liquid measuring cup to collect the juice as you juice the oranges can help combine the color, let you know when you have a cup, and reduce mess.
- Pour the juice into the ice tray. If you are using any additions such as orange peel, sliced kumquats, or fresh mint leaves, add them to the top of the filled cubes.Place the tray in the freezer.
- Freeze at least a few hours. The cubes should be solid before use.
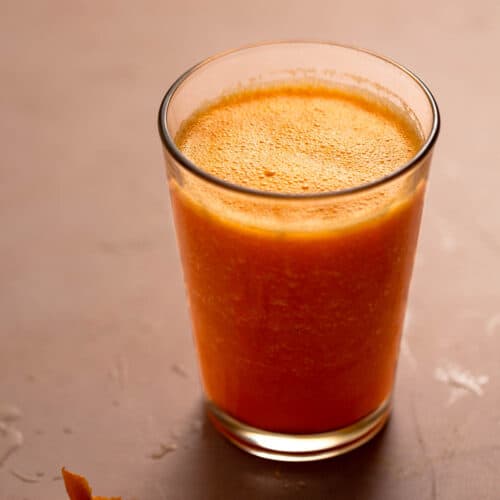
- Enjoy as many as you'd like in a glass or pitcher of water, sparkling water, contrasting juice, or mocktail/cocktail.
Notes
Rough Nutrition Estimate provided by WPRM (based on generic ingredients and limited specification options)
Food safety
See food safety guidelines at USDA.gov.


Comments
No Comments